
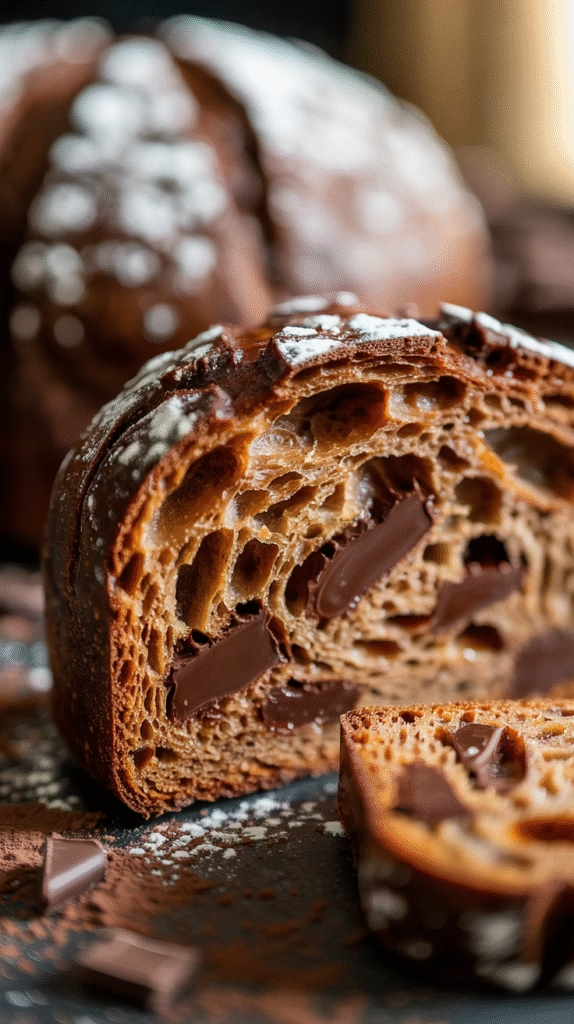
If you thought sourdough couldn’t get any better, prepare to have your mind blown. This sourdough chocolate bread is the stuff of breakfast dreams—a perfect marriage of tangy, chewy sourdough and rich, melty chocolate. It’s like a chocolate babka and a rustic sourdough boule had a delicious lovechild, and honestly? We’re here for it.
I’ve been baking sourdough for years (yes, including that one pandemic loaf that could’ve doubled as a doorstop), and this recipe is hands-down one of my favorites. It’s not overly sweet, so it works just as well toasted with butter for breakfast as it does warmed up with ice cream for dessert. Plus, it makes your kitchen smell like a fancy European bakery, which is always a win.
So, if you’re ready to take your sourdough game to the next level, grab your starter (please tell me it’s alive and bubbly), and let’s make the most indulgent loaf you’ve ever baked.
Why This Sourdough Chocolate Bread Is a Game-Changer
Before we get into the nitty-gritty of mixing and folding, let me sell you on why this recipe deserves a spot in your baking rotation.
1. The Flavor Is Next-Level
Sourdough already has that deep, complex tang, but when you add high-quality dark chocolate, it becomes something truly special. The slight bitterness of the cocoa balances the sourness, creating a flavor that’s rich but not cloying.
2. The Texture Is Chef’s Kiss
We’re talking:
- Crispy, crackly crust (thanks, Dutch oven!)
- Soft, airy crumb with just the right amount of chew
- Pockets of molten chocolate in every bite
3. It’s Versatile AF
- Breakfast? Toast it, slather it with butter, maybe even a little sea salt.
- Dessert? Warm it up and serve with vanilla ice cream.
- Snack? Just tear off chunks like a carb-crazed animal. No shame.
4. It Impresses People
Bring this to a brunch, and suddenly you’re that friend who makes artisanal bread. Watch as people take bite after bite, then ask, “Wait, you made this? From scratch?” (Spoiler: It’s easier than it looks.)
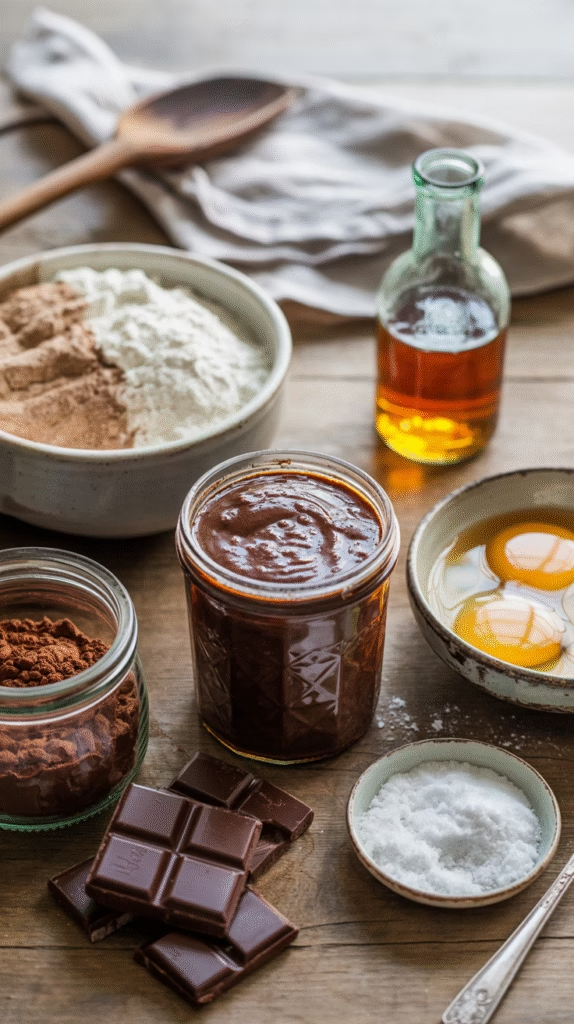
Ingredients: What You’ll Need (and Why It Matters)
Let’s talk ingredients, because not all flour (or chocolate) is created equal.
For the Dough:
- 100g active sourdough starter – Should be bubbly and ripe. If it’s sluggish, feed it and wait. Patience, young Padawan.
- 375g bread flour – Higher protein = better gluten development = chewier bread. All-purpose works, but bread flour is ideal.
- 50g whole wheat flour – Adds depth of flavor, but you can skip it if you want a lighter crumb.
- 10g cocoa powder – Use unsweetened Dutch-process for the richest flavor.
- 8g salt – Balances sweetness and strengthens gluten.
- 30g sugar (optional) – Just a touch to round out the sourness. Skip if you prefer a more savory loaf.
- 275g water – Adjust as needed. Dough hydration is key!
For the Chocolate:
- 150g dark chocolate (70% or higher) – Chopped into chunks. Or use chocolate chips if you’re feeling lazy (we’ve all been there).
- Optional add-ins:
- 50g chopped nuts (hazelnuts or walnuts add great crunch)
- A pinch of cinnamon or espresso powder (enhances chocolate flavor)
Step-by-Step Instructions (with Pro Tips)
Alright, let’s get into the actual baking. This follows a standard sourdough process, but with a few chocolatey tweaks.
1. Mix the Dough
- In a large bowl, whisk together the flours, cocoa powder, salt, and sugar (if using).
- Add the starter and water. Mix until it forms a shaggy, sticky dough.
- Pro Tip: If it feels too dry, add water 1 tbsp at a time. Too wet? A sprinkle of flour helps.
2. Autolyse (Let It Rest)
- Cover the bowl and let it sit for 30 minutes. This lets the flour fully hydrate and gluten start developing.
3. Stretch & Fold (AKA Arm Workout)
- Over the next 2-3 hours, do 4 sets of stretch and folds (every 30 minutes).
- Wet your hands, grab one side of the dough, stretch it up, and fold it over. Rotate the bowl and repeat.
- After the second fold, add the chocolate chunks (and nuts, if using).
- Why stretch & fold? It builds gluten without kneading, giving the bread structure.
4. Bulk Fermentation (Let It Rise)
- Let the dough rise at room temp (ideally 70-75°F / 21-24°C) until:
- It looks puffy and bubbly.
- It’s increased by about 50% in size (usually 4-6 hours).
- How to test if it’s ready? Poke it gently—if it slowly springs back, it’s good.
5. Shape the Dough
- Gently turn the dough onto a floured surface.
- Shape into a round boule (for a rustic look) or an oval batard (fancy bakery style).
- Place it seam-side up in a floured banneton (or a bowl lined with a floured towel).
6. Cold Proof (Overnight Magic)
- Cover and refrigerate for 8-12 hours. This:
- Develops deeper flavor.
- Makes the dough easier to score.
- Fits into your schedule (bake it fresh in the morning!).
7. Bake to Perfection
- Preheat oven to 450°F (230°C) with a Dutch oven inside (30+ mins).
- Turn the dough onto parchment paper, score the top (a simple “X” or leaf pattern works).
- Bake covered for 20 mins (steam = crispy crust).
- Remove lid, bake another 20-25 mins until deep brown.
- Pro Tip: If the bottom’s browning too fast, place a baking sheet under the Dutch oven.
8. The Hardest Part: Waiting
- Let it cool at least 30 minutes before slicing. I know, it’s torture. But cutting too soon = gummy bread.
Troubleshooting: Common Issues (and Fixes)
Sourdough can be unpredictable. Here’s how to avoid (or fix) common fails:
Problem: Dough Won’t Rise
- Possible Causes:
- Starter wasn’t active enough.
- Kitchen too cold.
- Fix:
- Test starter by dropping a spoonful in water—if it floats, it’s ready.
- Let dough rise in a slightly warm spot (like an off oven with the light on).
Problem: Chocolate Sinks to the Bottom
- Fix: Toss chocolate chunks in a bit of flour before adding them.
Problem: Burnt Bottom
- Fix: Place a baking sheet under the Dutch oven during the second half of baking.
Problem: Dense, Gummy Crumb
- Possible Causes:
- Underproofed dough.
- Cut into it too soon.
- Fix: Let it ferment longer next time, and always cool completely before slicing.
Serving Ideas: How to Eat This Like a Pro
This bread is delicious on its own, but here are some next-level ways to enjoy it:
Breakfast Mode
- Toasted + butter (non-negotiable).
- With almond butter and banana slices (healthy-ish?).
- As French toast (game-changer).
Dessert Mode
- Warmed with vanilla ice cream (hello, bread pudding vibes).
- Drizzled with caramel or Nutella (because why not?).
- Paired with red wine (fancy, right?).
Snack Mode
- Straight from the loaf (no shame).
- With a cup of coffee (the ultimate pairing).
Final Thoughts: Is This Worth the Effort?
Absolutely. Yes, sourdough takes time. Yes, you might mess up the first try (my first loaf could’ve been a hockey puck). But when you pull this chocolate-studded, crusty masterpiece out of the oven? Worth every second.
So go ahead—embrace the process, enjoy the smell of chocolate and yeast filling your kitchen, and get ready to fall in love with sourdough all over again.
