Are you tired of the same old dinner routine? Get ready to transport your taste buds to Japan without leaving your kitchen! 🇯🇵 As someone who’s been obsessed with Japanese cuisine for years, I’m thrilled to share these 10 amazing Japanese dinner recipes that are totally doable for home cooks.
Japanese food isn’t just about sushi—it’s a diverse culinary tradition that balances flavors, textures, and presentation in the most satisfying ways. In 2025, Japanese home cooking continues to trend worldwide, and for good reason! These recipes feature umami-rich ingredients that create depth of flavor while remaining surprisingly simple to prepare.
Whether you’re a complete beginner or looking to expand your repertoire of Japanese dishes, I’ve got you covered with these mouthwatering options that will impress your family and friends!
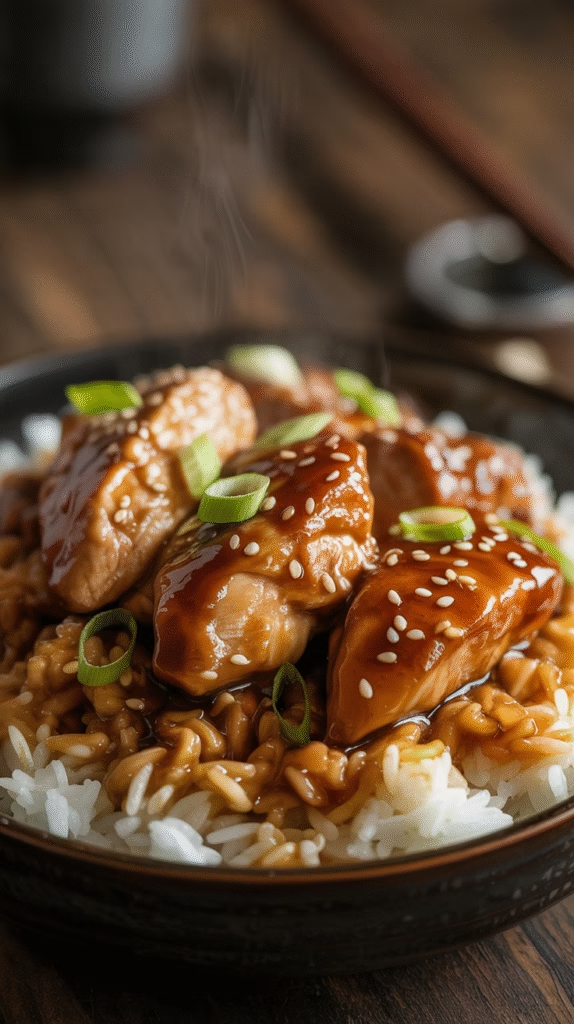
1. Classic Chicken Teriyaki: A Sweet and Savory Staple
Show Image
Teriyaki chicken is probably one of the most recognizable Japanese dishes worldwide, and for good reason—it’s absolutely delicious! The glossy, sweet-savory sauce paired with tender chicken creates a meal that’s both comforting and impressive.
What You’ll Need:
- 4 boneless, skinless chicken thighs
- 1/4 cup soy sauce
- 1/4 cup mirin (sweet rice wine)
- 2 tablespoons sake (or dry white wine)
- 2 tablespoons sugar
- 1 tablespoon grated fresh ginger
- 2 cloves garlic, minced
- 1 tablespoon vegetable oil
- Steamed rice and sliced green onions for serving
The Secret to Perfect Teriyaki:
The magic of teriyaki lies in its sauce! While store-bought versions work in a pinch, nothing beats homemade. Combine soy sauce, mirin, sake, and sugar in a small saucepan and simmer until slightly thickened. The sauce should coat the back of a spoon but still be pourable.
For the chicken, I prefer thighs because they stay juicier, but breasts work too. The key is getting that beautiful caramelization by cooking the chicken almost completely before adding the sauce. This prevents the sauce from burning while still allowing it to reduce to that perfect sticky glaze.
Serve your teriyaki chicken over steamed rice with a sprinkle of sesame seeds and sliced green onions. For a complete meal, add some quick-pickled cucumbers or steamed broccoli on the side!
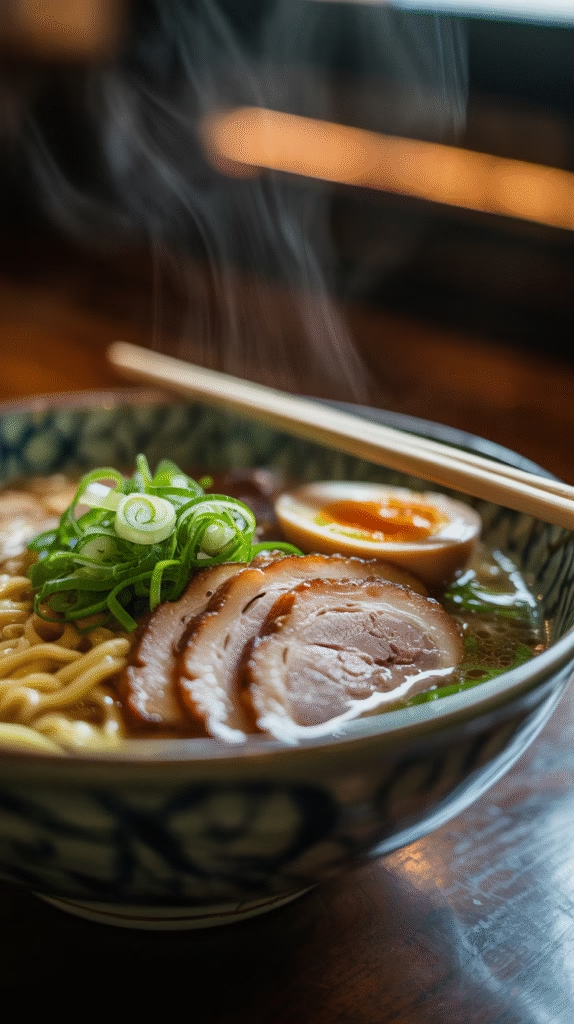
2. Homemade Ramen: Beyond the Instant Package
Show Image
Forget those instant ramen packages from college—real Japanese ramen is a soul-warming bowl of comfort that’s actually not as complicated as you might think!
What You’ll Need:
- 4 cups chicken stock
- 2 cups water
- 1/4 cup soy sauce
- 2 tablespoons mirin
- 1 tablespoon sesame oil
- 2 garlic cloves, smashed
- 1-inch piece of ginger, sliced
- 2 packages fresh ramen noodles (or dried if fresh unavailable)
- Toppings: soft-boiled eggs, sliced pork or chicken, corn, green onions, nori, bean sprouts
Ramen Simplified:
While traditional ramen broth can simmer for days, this weeknight-friendly version still delivers amazing flavor. The secret? Building layers of flavor with aromatics and umami-rich ingredients.
Start by infusing your broth with garlic, ginger, and a piece of kombu (dried kelp) if you have it. After about 30 minutes, remove the aromatics and add your seasoning ingredients.
For toppings, a soft-boiled egg (cook for exactly 6 minutes) is non-negotiable! Slice some pre-cooked chicken or pork, chop some green onions, and add whatever veggies you like.
The assembly is half the fun—noodles go in first, then ladle in your hot broth, and arrange your toppings artfully on top. Each family member can customize their bowl exactly how they like it!
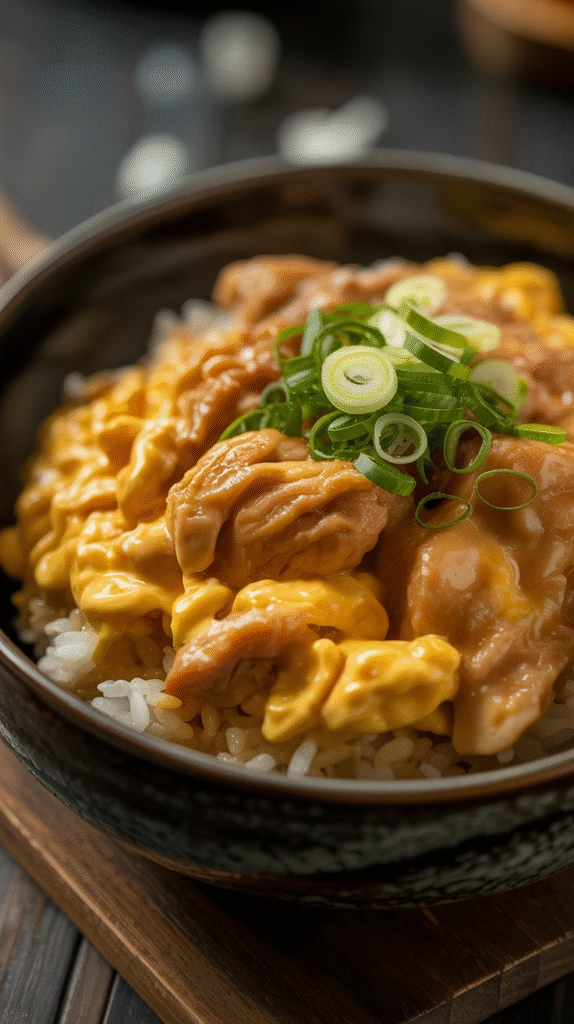
3. Comforting Oyakodon: The Ultimate Japanese Rice Bowl
Show Image
Oyakodon literally means “parent-and-child bowl” because it contains both chicken (the parent) and egg (the child). This one-pan meal comes together in about 20 minutes and is pure comfort food!
What You’ll Need:
- 2 chicken thighs, cut into bite-sized pieces
- 1/2 onion, thinly sliced
- 3 eggs, lightly beaten
- 1/2 cup dashi stock (or chicken stock with a dash of soy sauce)
- 2 tablespoons soy sauce
- 2 tablespoons mirin
- 1 tablespoon sugar
- 2 cups cooked Japanese rice
- Sliced green onions for garnish
Why It Works:
The beauty of oyakodon is its simplicity and the technique that creates that custardy egg texture. The trick is to only partially cook the eggs—they should still be slightly runny when you pour them over the rice, as they’ll continue cooking from the residual heat.
A traditional Japanese tool called an oyakodon pan (a small, round skillet) is ideal, but any small frying pan works fine. The key is to cook each portion individually for the perfect egg texture.
When the chicken is cooked through and the eggs are just set but still creamy, slide the whole thing over a bowl of hot rice. The steam from the rice will continue to cook the eggs slightly, creating that signature silky texture that makes oyakodon so crave-worthy!
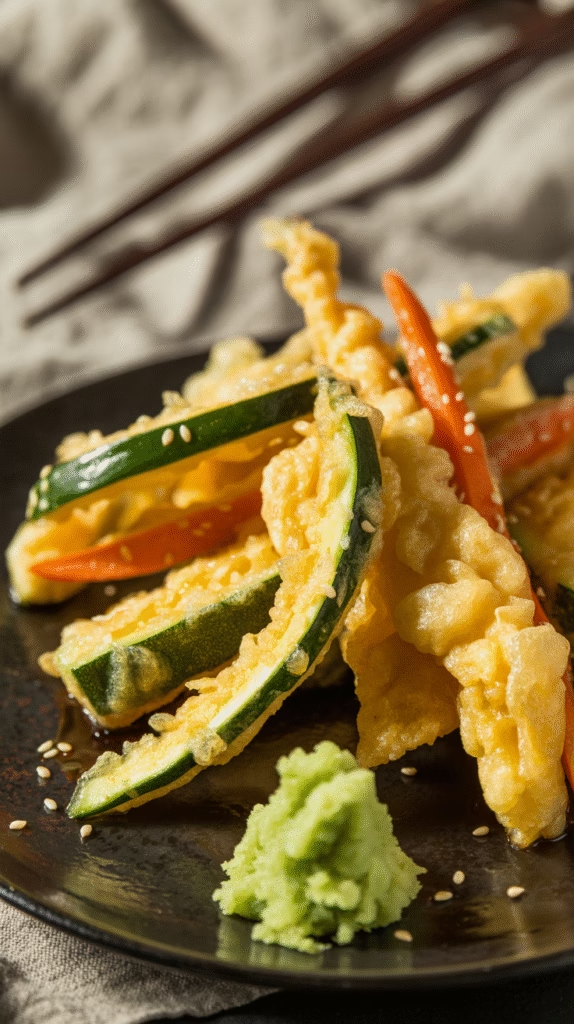
4. Crispy Vegetable Tempura: Light and Airy Perfection
Show Image
Great tempura is all about contrast—impossibly light, crispy batter surrounding perfectly cooked vegetables. The good news? You can absolutely achieve restaurant-quality tempura at home!
What You’ll Need:
- Assorted vegetables (sweet potato, bell pepper, eggplant, asparagus, shishito peppers)
- 1 cup all-purpose flour
- 1 egg yolk
- 1 cup ice-cold sparkling water
- Vegetable oil for deep frying
- For dipping sauce: 1/2 cup dashi, 2 tablespoons soy sauce, 2 tablespoons mirin, grated daikon radish
The Secrets to Perfect Tempura:
Temperature is everything with tempura! Your batter should be ice-cold and your oil very hot (around 350°F). The cold batter hitting the hot oil creates that signature light crispiness.
For the batter, less mixing is more—lumps are your friend! Overmixing develops gluten, resulting in a heavy, bready coating instead of that ethereal crunch we’re after.
Cut vegetables to sizes that will cook quickly, about 1/4-inch thick for most items. Sweet potatoes might need to be slightly thinner since they take longer to cook.
The traditional tempura dipping sauce (tentsuyu) is simple to make—just combine dashi, soy sauce, and mirin. Adding some grated daikon radish provides a refreshing contrast to the fried vegetables.
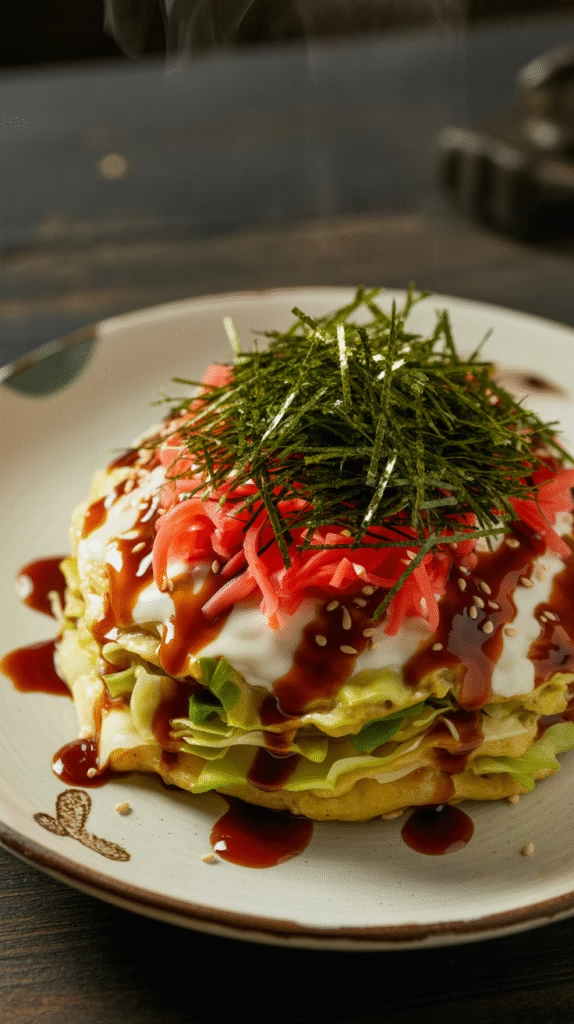
5. Savory Okonomiyaki: Japanese Comfort Food at Its Best
Show Image
Often described as a Japanese pancake or “as you like it” pizza, okonomiyaki is the ultimate customizable comfort food. It’s also a great way to use up vegetables in your fridge!
What You’ll Need:
- 1 cup all-purpose flour
- 2/3 cup dashi stock (or water in a pinch)
- 2 eggs
- 4 cups shredded cabbage
- 2 green onions, chopped
- 1/2 cup tempura scraps (tenkasu) or panko breadcrumbs
- Protein of choice (thinly sliced pork belly, shrimp, or tofu)
- Toppings: okonomiyaki sauce, Japanese mayonnaise, bonito flakes, aonori (seaweed flakes)
Making Okonomiyaki Magic:
The word “okonomi” means “how you like it,” and that’s the beauty of this dish—it’s endlessly customizable! While cabbage is the traditional base, you can add almost any vegetable or protein you like.
There are two main styles of okonomiyaki: Osaka-style (where all ingredients are mixed together) and Hiroshima-style (where ingredients are layered). The Osaka style is easier for beginners, so that’s what I’m sharing here.
The key to good okonomiyaki is not overmixing the batter—it should be just combined, with the cabbage still having some texture. Cook it low and slow to ensure the middle is cooked through before the outside burns.
The toppings are what make okonomiyaki truly special! The combination of sweet-savory okonomiyaki sauce, creamy Japanese mayo, and the dancing bonito flakes creates a flavor explosion. Don’t skip them if possible!
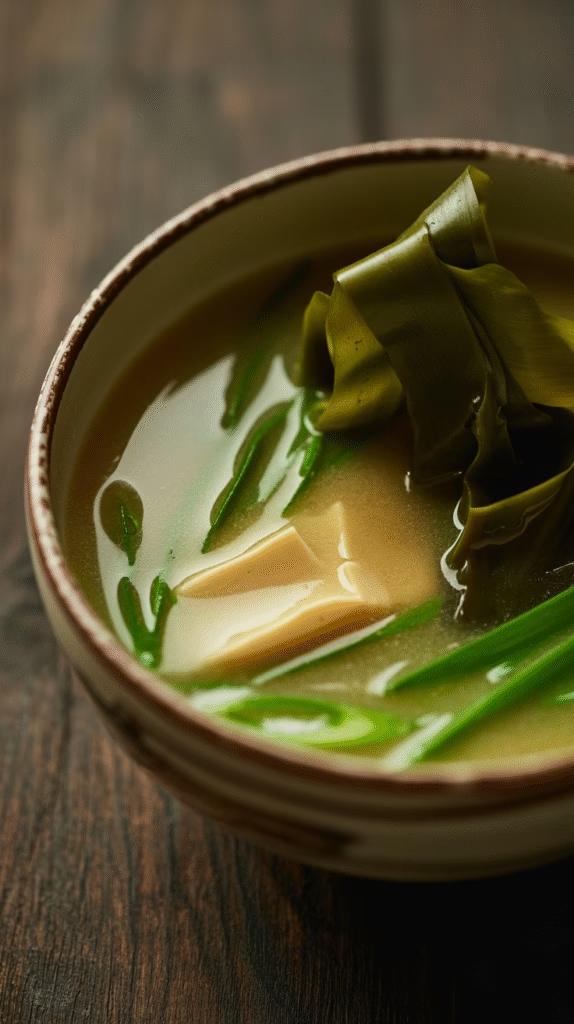
6. Soothing Miso Soup with Homemade Dashi
A bowl of miso soup is like a warm hug—comforting, nourishing, and somehow both simple and complex at the same time. Making it from scratch will revolutionize your Japanese cooking!
What You’ll Need:
- 4 cups water
- 1 piece kombu (dried kelp), about 4×4 inches
- 1/2 cup bonito flakes
- 3-4 tablespoons miso paste (red, white, or mixed)
- 1/2 block silken tofu, cubed
- 2 green onions, thinly sliced
- 1/4 cup wakame seaweed, rehydrated
Building Blocks of Flavor:
The secret to amazing miso soup is starting with proper dashi—a simple stock that forms the foundation of Japanese cooking. Place the kombu in cold water and slowly bring it to just below a simmer. Remove the kombu, add bonito flakes, turn off the heat, and let steep for 5 minutes before straining.
As for the miso itself, there are three main types: white (mild and sweet), red (stronger and saltier), and mixed (balanced). Each creates a different flavor profile, so experiment to find your favorite!
The most important technique: never boil your miso! Add it at the very end by taking some hot dashi in a separate bowl, whisking in the miso until smooth, then returning it to the pot. This preserves the probiotics and delicate flavor of the miso.
Beyond the classic tofu and wakame, try adding mushrooms, spinach, daikon radish, or even a soft-boiled egg to make your miso soup more substantial.
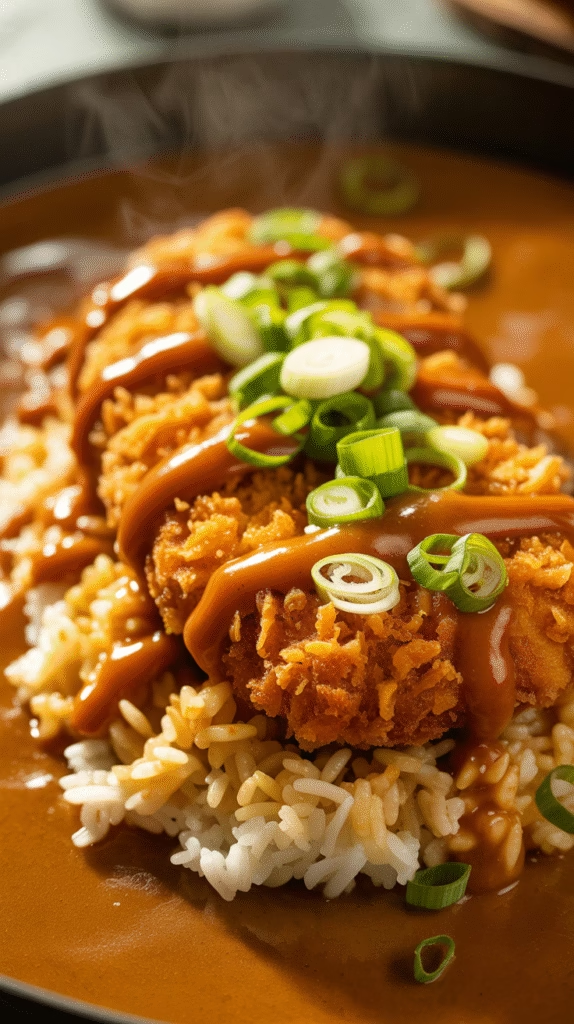
7. Quick and Easy Katsu Curry: A Japanese Comfort Classic
Japanese curry is nothing like Indian or Thai curries—it’s thick, mild, and slightly sweet with a unique flavor profile that’s addictively good. Paired with crispy katsu, it’s the ultimate Japanese comfort food!
What You’ll Need:
- 4 boneless pork loin chops or chicken breasts
- Salt and pepper
- 1/2 cup flour
- 2 eggs, beaten
- 1 1/2 cups panko breadcrumbs
- Oil for frying
- 1 box Japanese curry roux
- 1 onion, diced
- 2 carrots, cut into chunks
- 1 potato, cut into chunks
- 4 cups water or broth
- Steamed rice for serving
Curry in a Hurry:
Japanese curry is wonderfully accessible because it starts with store-bought curry roux blocks (available in most Asian grocery stores or online). These blocks contain a perfect blend of spices, thickeners, and seasonings.
For the katsu, the key is a super crispy coating. Use panko breadcrumbs (Japanese breadcrumbs) for that signature crunch, and press them firmly onto your protein to ensure they stick. Fry until golden brown and perfectly crisp.
For maximum flavor, let your curry simmer for at least 30 minutes after adding the roux blocks. This allows the flavors to meld and develop.
When serving, place a mound of rice on one side of the plate, pour curry on the other side, and top with your sliced katsu. The combination of crispy cutlet, rich curry, and fluffy rice creates the perfect bite!
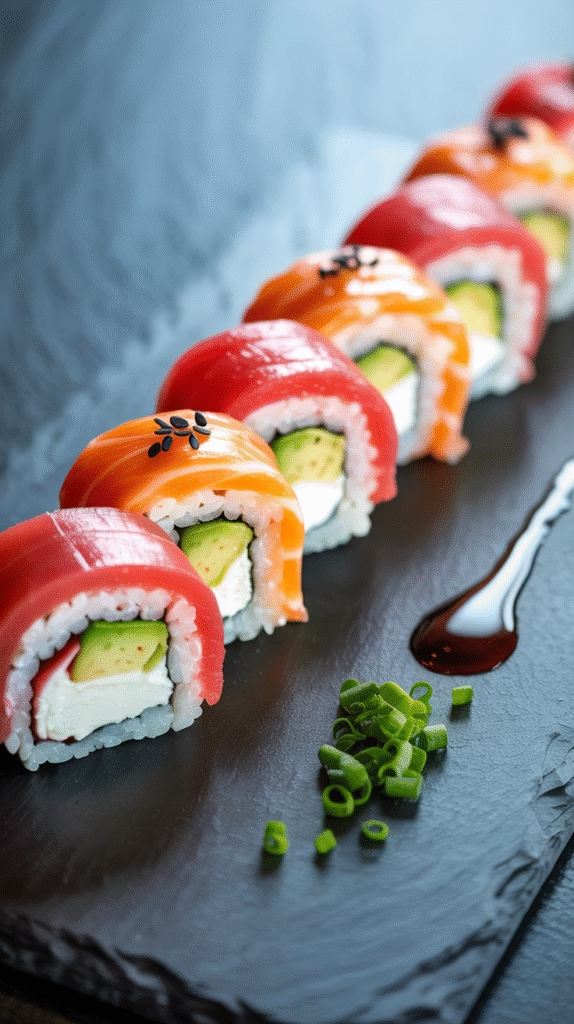
8. Elegant Sushi Rolls for Beginners
Making sushi at home might seem intimidating, but with a few simple techniques, you can create beautiful rolls that will impress everyone at your table!
What You’ll Need:
- 2 cups sushi rice
- 2 1/4 cups water
- 1/4 cup rice vinegar
- 2 tablespoons sugar
- 1 teaspoon salt
- Nori sheets (seaweed)
- Fillings: cucumber, avocado, cooked shrimp, imitation crab, carrot, cream cheese
- Soy sauce, wasabi, and pickled ginger for serving
- Bamboo sushi mat (optional but helpful)
Rolling with Confidence:
Perfect sushi starts with perfect rice. Rinse your rice until the water runs clear, then cook according to package directions. While still hot, season with the vinegar mixture (rice vinegar, sugar, and salt). Fan the rice while mixing to create that signature glossy texture.
For beginners, start with simple fillings that don’t require raw fish—cucumber, avocado, and cooked seafood are all great options. The California roll (imitation crab, avocado, and cucumber) is a perfect beginner roll!
The rolling technique takes practice, so don’t be discouraged if your first few attempts aren’t perfect. The key is to not overfill your rolls and to use firm, even pressure when rolling. A bamboo mat helps, but a kitchen towel covered with plastic wrap works in a pinch.
For a fun dinner party, set up a DIY sushi bar with prepared rice, nori, and various fillings. Everyone can customize their own rolls, taking the pressure off you to make perfect rolls!
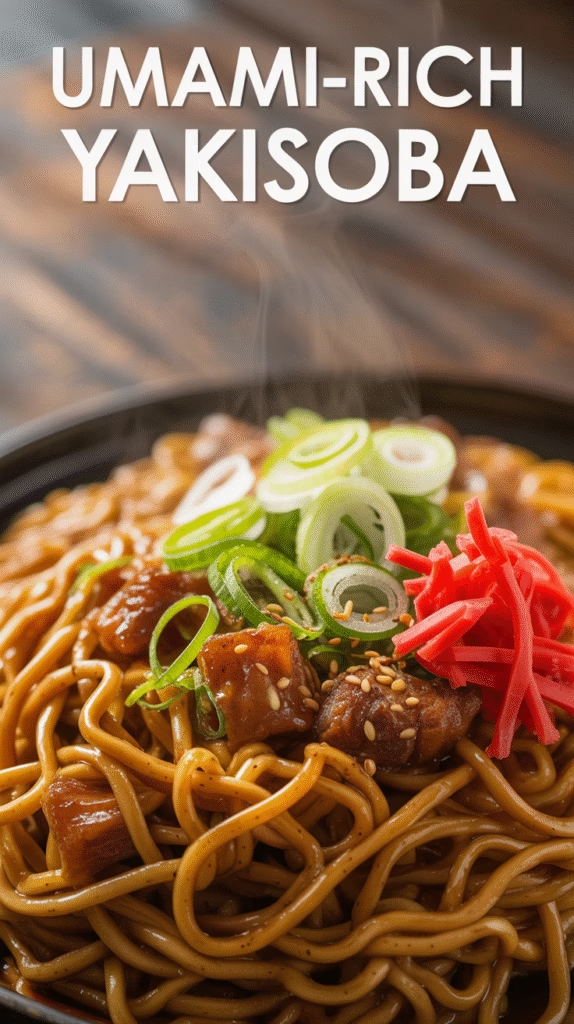
9. Umami-Rich Yakisoba: Japanese Stir-Fried Noodles
Yakisoba, despite its name containing “soba,” actually uses Chinese-style wheat noodles stir-fried with vegetables, meat, and a tangy-sweet sauce. It’s a festival food in Japan but makes for a quick and satisfying weeknight dinner!
What You’ll Need:
- 2 packages fresh yakisoba noodles (or dried if fresh unavailable)
- 1/2 pound thinly sliced pork or chicken
- 1 onion, thinly sliced
- 1 carrot, julienned
- 2 cups cabbage, chopped
- 2 green onions, cut into 2-inch pieces
- 3 tablespoons yakisoba sauce (or 2 tbsp Worcestershire sauce + 1 tbsp soy sauce + 1 tsp sugar)
- 1 tablespoon vegetable oil
- Toppings: aonori (seaweed powder), beni shoga (red pickled ginger), mayonnaise
Stir-Fry Success:
The key to great yakisoba is cooking quickly over high heat and in the right order. Start with your meat, then add firmer vegetables, followed by softer ones. The noodles go in last, along with the sauce.
If using packaged yakisoba noodles, rinse them briefly under warm water to loosen them up. Don’t soak them too long or they’ll become mushy.
Authentic yakisoba sauce has a distinctive tangy-sweet flavor, but if you can’t find it, the Worcestershire-soy sauce-sugar combination makes a reasonable substitute.
The traditional toppings of aonori (seaweed powder) and beni shoga (red pickled ginger) add authentic flavor and visual appeal, but the dish is still delicious without them if you can’t find these specialty ingredients.
For a fun presentation, try serving yakisoba in individual bowls topped with a fried egg—the runny yolk creates a delicious sauce when mixed with the noodles!
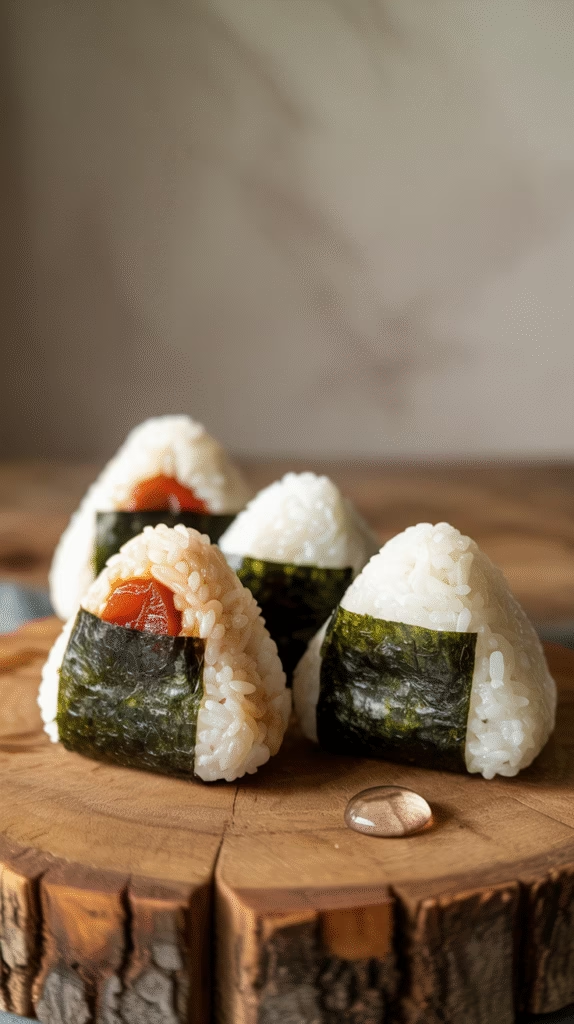
10. Simple Onigiri Rice Balls: The Perfect Portable Meal
Onigiri (rice balls) are Japan’s original fast food—portable, versatile, and satisfying. They’re perfect for lunch boxes, picnics, or a quick snack on the go!
What You’ll Need:
- 2 cups cooked Japanese short-grain rice (still warm)
- 1/2 teaspoon salt
- Fillings: umeboshi (pickled plum), salted salmon, tuna mayo, pickled vegetables
- 2-3 sheets nori, cut into strips
- Bowl of water with a pinch of salt (for wet hands)
Shaping Your Onigiri:
The most important ingredient for onigiri is proper Japanese short-grain rice. Its sticky texture holds the shape and creates that perfect chewy bite. Long-grain rice simply won’t work here.
Traditional onigiri are triangular, but round ones are easier for beginners. The key is to use just the right amount of pressure—too little and they fall apart, too much and the rice becomes dense and gummy.
For filling, a little goes a long way! Place about a teaspoon of filling in the center of your rice ball and seal it well. Classic fillings include umeboshi (pickled plum), salted salmon, or tuna mixed with mayonnaise, but you can get creative!
Wrap your onigiri with nori just before eating to maintain the seaweed’s crispness. For lunch boxes, pack the nori separately and wrap it around the rice ball when you’re ready to eat.
For a modern twist, try yaki-onigiri—rice balls brushed with soy sauce or miso and grilled until crispy on the outside. The contrast between the crispy exterior and chewy interior is absolutely divine!
Ready to Bring Japan to Your Kitchen?
And there you have it—10 incredible Japanese dinner recipes that will bring authentic flavors to your table! What I love most about Japanese cooking is how it transforms simple ingredients into something magical through technique and attention to detail.
Don’t be intimidated by unfamiliar ingredients; most are available online or at Asian markets, and I’ve included substitutions where possible. The beauty of these recipes is that while they honor tradition, they also welcome adaptation to make them work for your lifestyle and preferences.
Remember that practice makes perfect, so don’t worry if your first attempt at rolling sushi isn’t Instagram-worthy! The joy is in the process and, of course, in the eating.
