Craving that perfect golden-brown fried chicken but dreading the oil mess? I get it. After burning through way too many paper towels cleaning up oil splatters, I discovered air fryer fried chicken – and honestly, I’m never going back to the old-school method.
This isn’t some health-food compromise that tastes like cardboard. We’re talking about legitimately crispy, juicy chicken that’ll have you questioning why you ever bothered with a deep fryer. Ready to revolutionize your chicken game?
Why Air Fryer Fried Chicken Is Actually Better
The Numbers Don’t Lie
Here’s what sold me: air fryer fried chicken uses 80% less oil than traditional frying. But here’s the kicker – it doesn’t sacrifice taste. The rapid air circulation creates that coveted crispy exterior while keeping the inside ridiculously juicy.
I’ve done side-by-side comparisons, and guests literally couldn’t tell the difference. Except they felt way less guilty going back for seconds 🙂
Time Is Money (And Sanity)
Traditional frying timeline: Heat oil (15 minutes), fry in batches (20+ minutes), clean up disaster zone (another 15 minutes). Air fryer timeline: Preheat (3 minutes), cook (25 minutes), quick cleanup (2 minutes). You do the math.
Plus, no more oil temperature anxiety or grease burns. Your smoke detector will actually stay quiet for once.
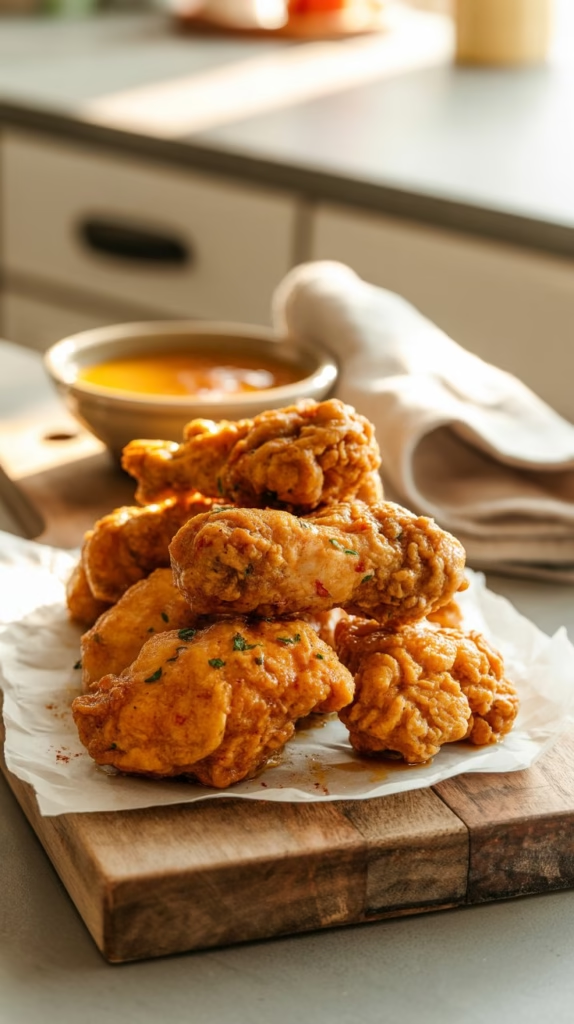
The Perfect Air Fryer Fried Chicken Recipe
Ingredients That Actually Matter
For the chicken:
- 3 lbs mixed chicken pieces (thighs and drumsticks work best)
- 2 cups buttermilk
- 2 large eggs
- 1 tablespoon hot sauce (trust me on this)
For the coating:
- 2 cups all-purpose flour
- 2 tablespoons paprika
- 1 tablespoon garlic powder
- 1 tablespoon onion powder
- 2 teaspoons salt
- 1 teaspoon black pepper
- 1 teaspoon cayenne pepper
- 1 teaspoon dried thyme
- 1 teaspoon oregano
The Step-by-Step Process
Step 1: The Buttermilk Bath Soak your chicken in buttermilk for at least 1 hour. If you’re planning ahead, overnight is even better. This step tenderizes the meat and helps the coating stick like superglue.
Step 2: Coating Station Setup Mix all dry ingredients in one bowl. In another bowl, whisk buttermilk, eggs, and hot sauce. This two-step system creates layers that equal maximum crunch.
Step 3: The Double-Dip Method Here’s where most people mess up – they skip the second coating. Don’t be that person.
- Dredge chicken in seasoned flour
- Dip in buttermilk mixture
- Back into flour for round two
- Shake off excess (but not too much)
Step 4: Air Fryer Setup Preheat to 380°F for 5 minutes. Lightly spray chicken with cooking oil – this step is crucial for that golden color.
Step 5: Cook Time
- Drumsticks/thighs: 25-28 minutes
- Chicken breasts: 20-23 minutes
- Wings: 18-20 minutes
Flip everything at the halfway mark. Internal temperature should hit 165°F.
Pro Tips That Actually Work
The Overcrowding Trap
I learned this the hard way – cramming too many pieces in the basket creates steam, which equals soggy coating. Leave space between pieces or cook in batches. Your patience will be rewarded.
The Oil Spray Game-Changer
Forget the aerosol cans. Get an oil sprayer and fill it with avocado oil. Light misting before and halfway through cooking creates that restaurant-quality golden brown finish.
Temperature Tricks
Every air fryer runs slightly different. Start checking doneness 3 minutes before the recommended time. Better to check early than serve rubber chicken to your dinner guests.
Troubleshooting Common Disasters
Soggy Coating Solutions
Problem: Coating falls off or turns mushy Solutions:
- Pat chicken completely dry before coating
- Don’t skip the double-dip process
- Ensure proper spacing in basket
- Use oil spray generously
Uneven Browning Issues
Problem: Some pieces are golden while others look pale Solutions:
- Cut pieces to similar sizes
- Flip at exact halfway point
- Rotate basket position if your model has hot spots
- Check if you’re overcrowding

Flavor Variations Worth Trying
Nashville Hot Style
Add 2 tablespoons brown sugar to the flour mixture and increase cayenne to 2 teaspoons. Brush finished chicken with a mixture of melted butter, hot sauce, and brown sugar. Your mouth will be on fire, but you’ll love every second.
Korean-Inspired Coating
Replace regular paprika with gochugaru (Korean chili flakes) and add 1 tablespoon cornstarch to the flour. Serve with a honey-soy dipping sauce that’ll make you forget about traditional sides.
Herb-Crusted Perfection
Double the thyme and oregano, add 1 tablespoon dried rosemary, and include 2 tablespoons grated parmesan in the flour mixture. This creates a more sophisticated flavor profile that’s perfect for dinner parties.
Sides That Don’t Suck
Classic Combos
Traditional powerhouses:
- Creamy mac and cheese
- Buttermilk biscuits
- Honey-drizzled cornbread
- Tangy coleslaw
Lighter Options
If you’re trying to keep things somewhat healthy:
- Roasted sweet potato wedges
- Grilled asparagus
- Quinoa salad with herbs
- Air-fried Brussels sprouts
Storage and Reheating Reality
Proper Storage
Store leftovers in the fridge for up to 3 days. Place pieces on a wire rack over a baking sheet – this prevents the bottom from getting soggy overnight.
Reheating Without Regret
Skip the microwave unless you enjoy disappointment. Reheat in the air fryer at 350°F for 3-4 minutes. This restores most of the original crispiness without drying out the meat.
Equipment Recommendations
Air Fryer Size Matters
For families of 4+, get at least a 5.5-quart capacity. Smaller models work fine for couples, but you’ll be cooking in multiple batches for larger groups.
Must-Have Tools
- Digital instant-read thermometer – eliminates guesswork
- Oil sprayer – better than aerosol cans
- Silicone-tipped tongs – won’t scratch your basket
- Wire cooling racks – prevents soggy bottoms
Advanced Techniques
The Marinade Upgrade
For next-level flavor, add these to your buttermilk marinade:
- 2 tablespoons pickle juice
- 1 teaspoon garlic powder
- 1 teaspoon onion powder
- 1 teaspoon smoked paprika
This combination creates complexity that’ll have people asking for your secret.
Coating Texture Tricks
Want extra crunch? Add 2 tablespoons cornstarch to your flour mixture. For a slightly sweet coating, include 1 tablespoon brown sugar. Both modifications create textural interest that elevates the final product.
Common Mistakes to Avoid
The Impatience Factor
Don’t rush the buttermilk soak. That 1-hour minimum isn’t a suggestion – it’s essential for tender, flavorful chicken.
Coating Shortcuts
Skipping the double-dip process saves maybe 2 minutes but costs you serious crispiness. It’s not worth it.
Temperature Guessing
Get a thermometer. Seriously. Guessing doneness based on color alone leads to either undercooked or overcooked chicken. Neither is appetizing.
The Final Verdict
After making this air fryer fried chicken recipe probably 50+ times, I can confidently say it’s better than most restaurant versions. The coating stays crispy for hours, the meat is consistently juicy, and cleanup is actually manageable.
The best part? You can feel good about serving this to kids, guilt-free second helpings, and your kitchen won’t smell like a fast-food joint for three days.
So next time you’re craving that perfect fried chicken, skip the drive-thru and fire up your air fryer instead. Your taste buds (and your cleaning schedule) will thank you for it. And hey, if anyone asks for your secret, just tell them you’ve mastered the art of cooking without swimming in oil – because that’s exactly what you’ve done.
Air Fryer Fried Chicken Recipe: Crispy Perfection Without the Grease
Course: Dinner, MainCuisine: AmericanDifficulty: Easy4
servings15
minutes25
minutes330
kcal40
minutesCrispy, juicy, and golden-brown fried chicken—made right in your air fryer! This healthier take on classic fried chicken cuts the grease, not the crunch. Perfect for weeknight dinners or a guilt-free indulgence.
Ingredients
4 bone-in, skin-on chicken thighs
4 drumsticks (or swap for all thighs if preferred)
1 cup buttermilk
1 teaspoon hot sauce (optional, for marinade)
1 cup all-purpose flour
½ cup cornstarch
1½ teaspoons salt
1 teaspoon black pepper
1 teaspoon garlic powder
1 teaspoon onion powder
1 teaspoon smoked paprika
½ teaspoon cayenne pepper (optional for heat)
Olive oil spray or cooking spray
Directions
- Marinate the Chicken:
In a bowl, mix buttermilk and hot sauce. Add chicken pieces, coat well, and marinate for at least 1 hour (or overnight in the fridge for best flavor). - Prepare the Coating:
In a separate bowl, combine flour, cornstarch, salt, pepper, garlic powder, onion powder, paprika, and cayenne. - Coat the Chicken:
Remove chicken from marinade (let excess drip off). Dredge each piece in the flour mixture, pressing firmly to coat. Shake off excess. - Preheat the Air Fryer:
Preheat air fryer to 375°F (190°C) for 3–5 minutes. - Air Fry:
Spray the basket and chicken generously with olive oil spray. Arrange chicken in a single layer (cook in batches if needed). Air fry for 12 minutes, flip, spray again, and cook for another 10–13 minutes until crispy and internal temp hits 165°F (74°C). - Serve:
Let rest for 5 minutes. Serve hot with dipping sauces or your favorite sides!
Notes
- For Extra Crunch: Double-dip the chicken by dredging, dipping in buttermilk again, and dredging once more.
Don’t overcrowd: Air circulation is key—leave space between chicken pieces.
Oil spray is essential: It helps brown and crisp the coating just like deep frying!

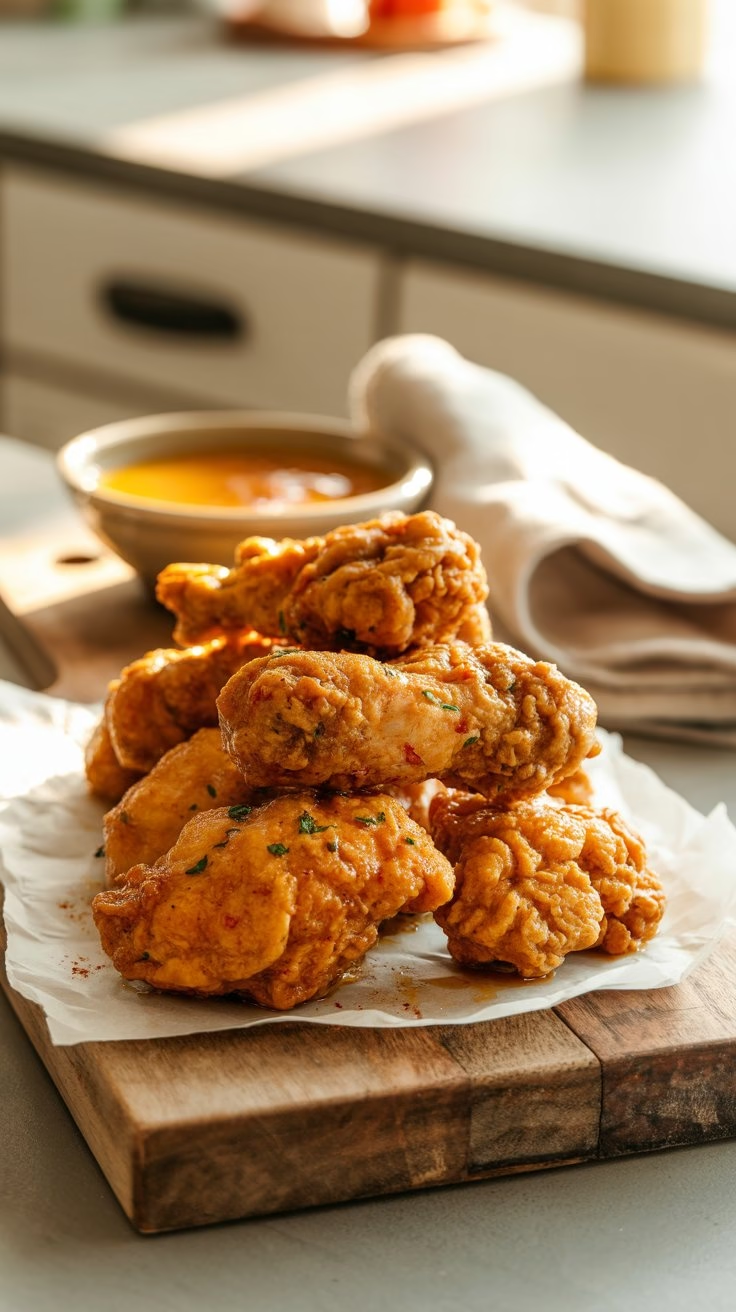
I made this as my very first attempt at fried chicken in the air fryer. AMAZING! I seasoned it to my own taste and preference but this was delicious. Will definitely be doing this again, since I couldn’t taste the difference between air fried and deep fried
oh! Thank You, Iam Glad you Like it