Who doesn’t love cheesecake but doesn’t want to fuss with water baths or fancy baking drama? That’s why cheesecake bars are an absolute game-changer—creamy, rich, and easy as pie (well, cheesecake) to make. If you’re anything like me, you’ve probably tried your fair share of cheesecake recipes, but I’m telling you: these bars are the ultimate low-maintenance, high-flavor treat. Seriously, ever wondered why we even bother with the whole round cake version when you can just slice and serve these dreamy little squares?
Why Cheesecake Bars Are a Total Win
Let’s be real: cheesecake can be a bit intimidating. The fear of cracks, sinking, or ending up with a lumpy filling is enough to make anyone want to order in. But cheesecake bars? They’re the chill, no-fuss cousin of the classic dessert. Not only do they bake faster, but they’re also super easy to personalize. You can go classic, swirl in fruit jam, or even try a cookie crust twist. Honestly, once you make these, you’ll never look back :).
And hey, have you ever tried to slice a round cheesecake and ended up with ugly, uneven pieces? Yeah, me neither (okay, I have, and it was a disaster). Cheesecake bars are perfect for parties, picnics, or just treating yourself to a little slice of heaven.
The Essentials: What You Need
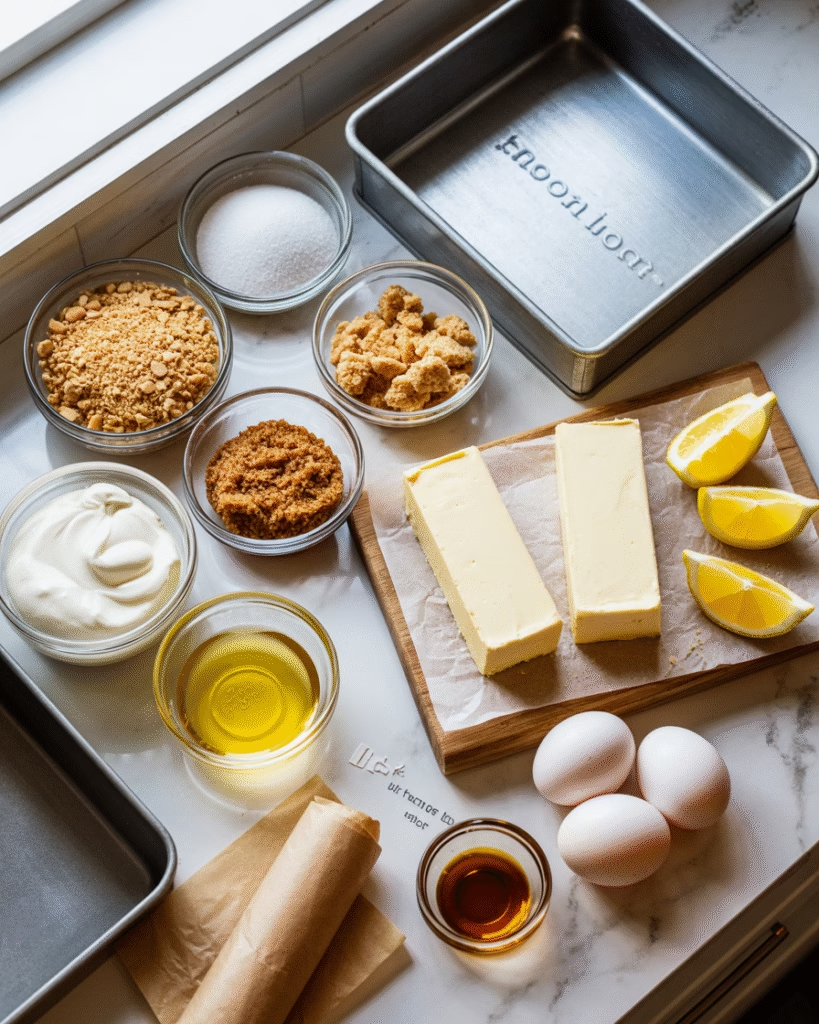
Before we dive in, here’s what you’ll need to get started. No fancy equipment, just your trusty mixing bowls and a good set of measuring spoons.
For the Crust
- 1½ cups graham cracker crumbs (about 11 full sheets)
- 3 tablespoons brown sugar (adds a little depth)
- 6 tablespoons unsalted butter, melted
For the Filling
- 2 (8 oz) packages cream cheese, room temperature (this is non-negotiable!)
- ⅔ cup granulated sugar
- ⅓ cup sour cream (or full-fat Greek yogurt if that’s what you’ve got)
- 2 teaspoons fresh lemon juice (brightens it up!)
- 1 teaspoon vanilla extract
- 3 large eggs, room temperature
Bonus Tips
- Parchment paper is your friend—line your pan and let it hang over the edges so you can easily lift the bars out later.
- Want a twist? Swap graham crackers for Oreos, gingersnaps, or even Biscoff cookies for a fun flavor spin.
- FYI, room temperature ingredients are key. Cold cream cheese clumps, and warm eggs can mess with the texture. Trust me, I learned this the hard way the first time I tried to save time.
Step-by-Step: Making Cheesecake Bars That Shine
Ready to get your hands messy? Let’s go.
The Crust—No Crumbs Left Behind

- Preheat oven to 350°F (175°C).
- Line your 8×8-inch pan with parchment paper, leaving an overhang on at least two sides.
- Mix the graham cracker crumbs, brown sugar, and melted butter in a bowl until it looks like wet sand.
- Press the mixture firmly into the pan with a flat-bottomed glass or your hands. Make sure it’s evenly packed—no sneaky holes or gaps!
- Bake for 10–12 minutes until golden brown, then let it cool while you prep the filling.
Pro tip: If you want your bars on the edge, try a cookie crust. Swap in finely crushed Oreos for graham crackers and add a little extra butter. It’s a chocolate-lover’s dream.
The Creamy Filling—Smooth Operator
- In a large bowl, beat the cream cheese with a hand mixer until smooth and fluffy. Scrape down the sides often—lumps are not invited.
- Add the sugar and beat until well combined.
- Stir in the sour cream, lemon juice, and vanilla. Beat until smooth.
- Add the eggs one at a time, beating just until each is mixed in. Don’t overdo it—overmixing leads to cracks, and that’s a definite no-no.
- Pour the batter over the cooled crust.
Baking—The Magic Happens
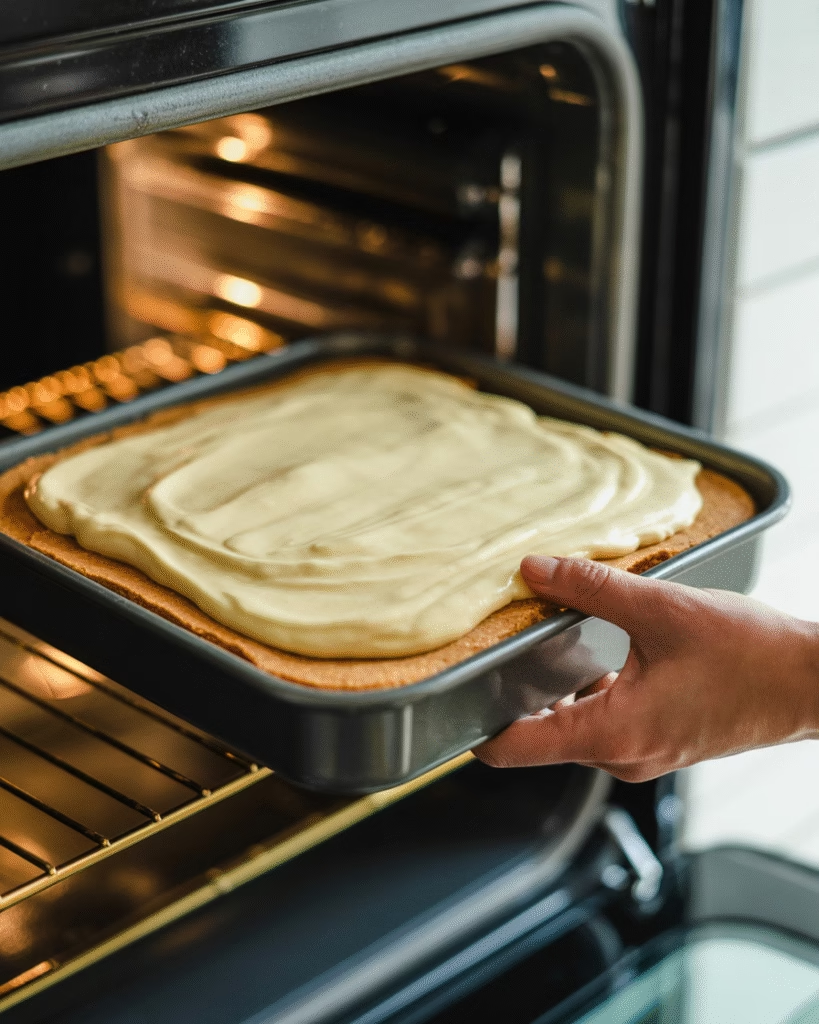
- Lower the oven temperature to 325°F (160°C).
- Bake your cheesecake bars for 30–35 minutes. The edges should be slightly puffed, and the center should only move a little when you gently jiggle the pan.
- Let them cool completely on a wire rack, then pop them in the fridge for at least 4 hours (overnight is even better).
Seriously, don’t skip the chilling step. Cheesecake bars are all about that creamy texture, and they need time to set.
Why These Bars Are So Damn Good
- Creamy, rich, and perfectly balanced—no bland, flavorless cheesecake here.
- The crust stays buttery, never soggy.
- Unlike their round relative, you don’t have to worry about cracks or water baths.
- They’re easy to cut, easy to serve, and even easier to enjoy.
Personal Touches & Swirls Galore
Here’s where things get fun. Cheesecake bars are like a blank canvas. Want to kick it up a notch? Here are a few ideas I’ve tried and loved:
- Fruit swirls: Dollop some strawberry, raspberry, or blueberry jam over the batter before baking and swirl with a knife. It’s a beautiful pop of color and flavor.
- Chocolate drizzle: After chilling, melt some chocolate and drizzle it over the top. It makes them look legit fancy.
- Lemon zest: Add a teaspoon of lemon zest for extra zing.
- Cookie crust: Try Oreos, Biscoff, or gingersnaps for a different twist.
Troubleshooting: Avoiding Cheesecake Bar Tragedies
We’ve all had those baking fails, right? Here’s how to dodge the most common cheesecake bar disasters:
- Too much liquid in the filling: If you add extra sour cream or yogurt, your bars might be too soft. Stick to the recipe.
- Cracking: Overbaking or overmixing the eggs can cause cracks. Bake just until the edges puff and the center only wobbles slightly.
- Crust that crumbles: Press the crust firmly before baking. Don’t just sprinkle it in—pack it down!
- Soggy crust: Make sure your filling isn’t too wet, and bake the crust until it’s golden brown.
If you want extra insurance against cracks, line your pan with parchment paper and let it hang over the sides. It’ll help the bars contract evenly as they cool.
Storing and Serving
- Store in the fridge for up to 5 days (not that they’ll last that long).
- For a party, these bars are easy to transport and serve. Just slice, plate, and let the compliments roll in.
- Want to go the extra mile? Top with whipped cream, fresh berries, or a sprinkle of chocolate shavings.
Final Thoughts: Why These Bars Are a Must-Make
At the end of the day, cheesecake bars are about indulging without the stress. They’re creamy, flavorful, and totally customizable. Plus, the cleanup is easy, and you can experiment to your heart’s content. So, what’s not to love?
Next time you’re craving cheesecake, skip the hassle and go for the bars. Your friends, your family, and your sweet tooth will thank you.
So, what’s your favorite cheesecake bar twist? Have you tried a cookie crust or a fruit swirl? Let me know in the comments—because honestly, I’m always on the hunt for new ideas 🙂
These Cheesecake Bars Might Be Better Than Actual Cheesecake
Course: DessertCuisine: AmericanDifficulty: Easy, Medium16
servings20
minutes40
minutes230
kcal5
hoursChill Time: 4 hours
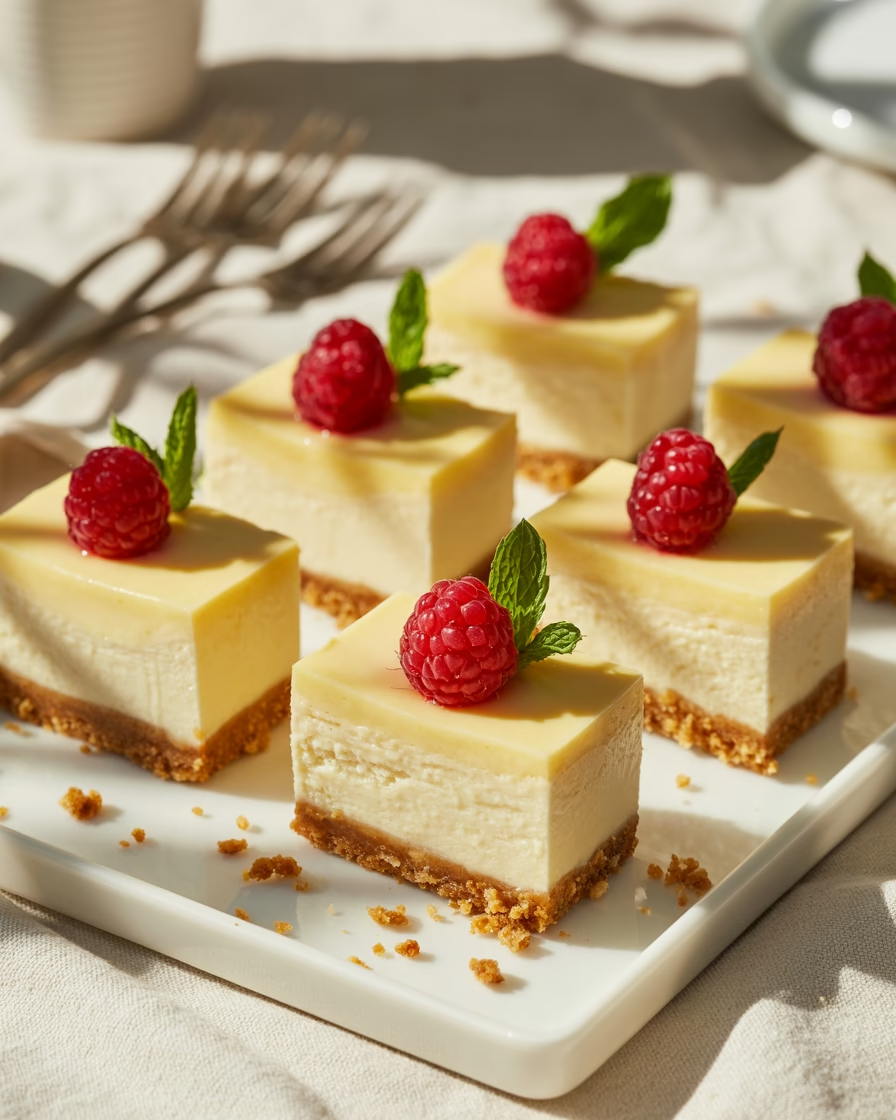
Creamy, classic cheesecake bars with a buttery graham cracker crust and silky cheesecake filling, baked in an 8×8-inch pan. Easy to slice, perfect for parties, and way less fussy than a full cheesecake—no water bath, no drama, just smooth, rich goodness in neat little squares.
Ingredients
For the Graham Cracker Crust
1½ cups graham cracker crumbs (about 11 full sheets)
3 tablespoons light brown sugar, packed
6 tablespoons unsalted butter, melted
- For the Cheesecake Filling
16 oz cream cheese, softened to room temperature (two 8 oz blocks, full-fat)
⅔ cup granulated sugar
⅓ cup sour cream (or full-fat Greek yogurt)
2 teaspoons fresh lemon juice
1 teaspoon vanilla extract
3 large eggs, room temperature
- Optional Toppings (After Baking)
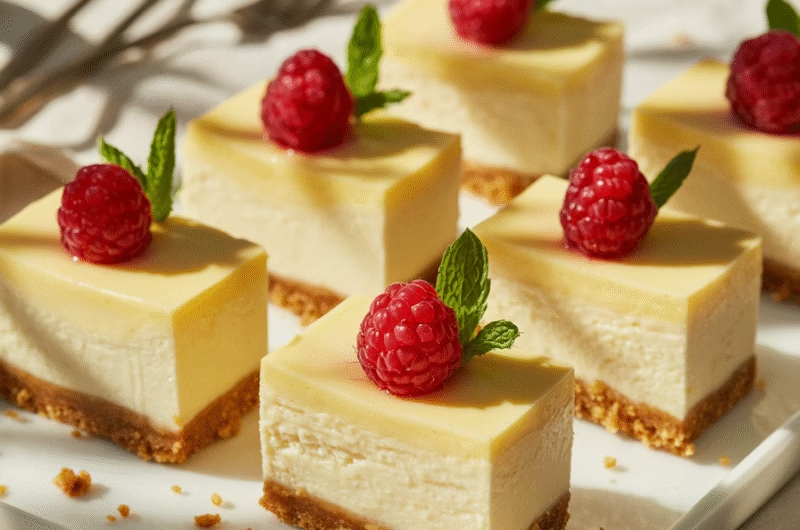
Fresh berries (strawberries, raspberries, blueberries)
Whipped cream
Chocolate drizzle or caramel sauce
Fresh mint leaves for garnish
Directions
- . Prep the Pan and Oven
Preheat your oven to 350°F (175°C).
Line an 8×8-inch baking pan with parchment paper, leaving an overhang on two sides to create a “sling” for easy lifting later.
Lightly spray or grease any exposed sides of the pan if needed. - Make the Graham Cracker Crust
Add graham cracker crumbs and brown sugar to a medium bowl.
Pour in the melted butter and stir until the mixture looks like damp, even sand with no dry patches.
Transfer the crumb mixture to the prepared pan.
Use your hands or a flat-bottom glass to press the crumbs firmly and evenly into the bottom of the pan. Make sure you reach all the corners and create a compact, even layer.
Bake the crust at 350°F (175°C) for 10–12 minutes, until it looks lightly golden and smells toasty.
Remove from the oven and let the crust cool slightly while you make the filling. Leave the oven on—you’ll lower the temperature in the next step. - Mix the Cheesecake Filling
Important: Make sure all your cold ingredients (especially cream cheese and eggs) sit at room temperature for about 30 minutes. This step helps you get that ultra-smooth, no-lump texture.
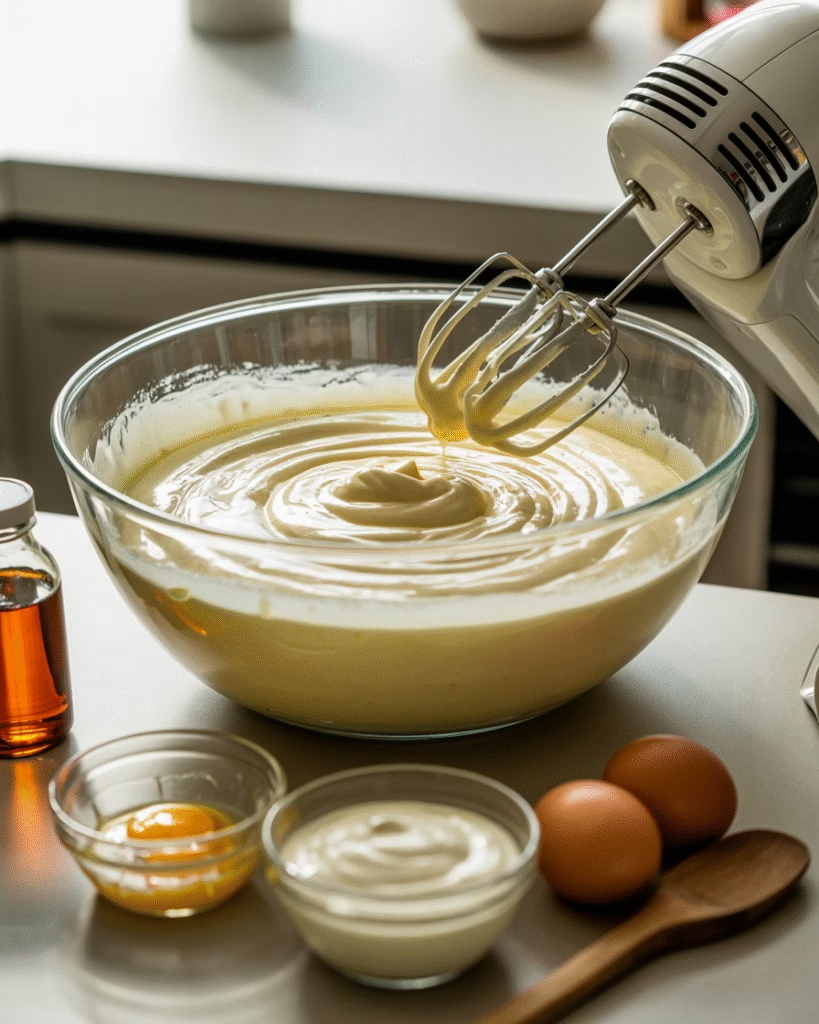
In a large mixing bowl, add the softened cream cheese.
Beat with an electric mixer on medium speed until completely smooth and fluffy, scraping down the sides of the bowl as needed.
Add the granulated sugar and beat again until the mixture looks smooth, creamy, and slightly thick.
Add sour cream, lemon juice, and vanilla extract. Beat on low–medium until fully combined and silky.
Add the eggs one at a time, mixing on low speed after each just until incorporated. Avoid overmixing at this stage—too much air can cause cracks.
Scrape down the sides and bottom of the bowl and give the batter a final gentle mix with a spatula to ensure everything’s smooth and even. - Assemble and Bake the Cheesecake Bars
Reduce the oven temperature to 325°F (160°C).
Pour the cheesecake batter over the warm, pre-baked crust.
Use a spatula to spread the filling into an even layer, smoothing the top.
Gently tap the pan on the counter a couple of times to pop any large air bubbles.
Bake at 325°F (160°C) for 30–35 minutes.
The edges should look slightly set and puffed.
The center should still wobble slightly when you gently jiggle the pan (not sloshy, just a soft jiggle).
Once baked, turn off the oven and remove the pan.
Set the pan on a wire rack and let the cheesecake bars cool completely to room temperature. - Chill Until Set
After the bars cool to room temperature, cover the pan (foil or plastic wrap works).
Place the pan in the refrigerator for at least 4 hours, or preferably overnight.
Chilling helps the cheesecake firm up and develop that rich, creamy texture that slices cleanly. - Slice and Serve
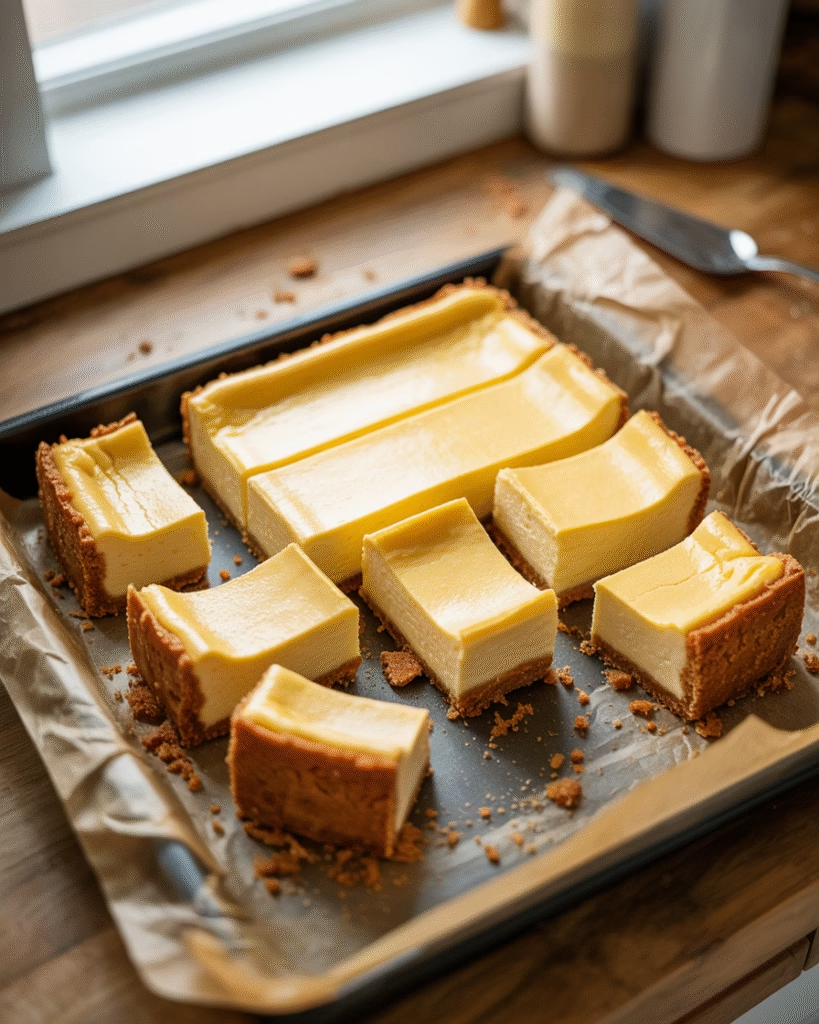
Once fully chilled, use the parchment paper overhang to lift the cheesecake slab out of the pan and onto a cutting board.
Use a sharp knife to slice into 16 bars (4×4 grid) or 9 larger squares if you want bigger servings.
For super clean edges, wipe the knife with a warm, damp cloth between cuts.
Top with fresh berries, a dollop of whipped cream, or a chocolate/caramel drizzle if you want to dress them up.
Serve cold and enjoy!
Notes
- Storage
Fridge: Store cheesecake bars in an airtight container in the refrigerator for up to 4–5 days.
Freezer: Wrap individual bars tightly in plastic wrap, then place in a freezer-safe bag or container. Freeze for up to 2 months. Thaw in the fridge overnight before serving. - Approximate Nutrition (Per Bar – 16 bars)
These numbers are estimates and will vary slightly based on your specific ingredients and toppings.
Calories: ~230 kcal
Total Fat: ~16 g
Saturated Fat: ~9 g
Carbohydrates: ~18 g
Sugar: ~14 g
Protein: ~4 g
Fiber: ~0.5 g - Recipe Notes
Pan size: This recipe is designed for an 8×8-inch pan, just like in the article. If you use a 9×9-inch pan, your bars will be slightly thinner, and the bake time may shorten by a few minutes.
Crust variations: You can swap graham crackers for Oreo crumbs, Biscoff cookies, or gingersnaps. Keep the crumb amount around 1½ cups and adjust butter slightly if the crumbs feel too dry or too greasy.
Avoid cracks:
Don’t overbeat the eggs.
Bake just until the center gently jiggles.
Always chill fully before slicing.
Texture: If the batter looks lumpy, your cream cheese likely wasn’t soft enough. Let it warm up longer next time and beat it thoroughly before adding other ingredients.