
There’s something special about a well-made coconut cake. When I found my grandma’s old recipe box and saw her coconut cake recipe, stained and marked from years of love and use, I felt I had to share this treasure with everyone. This isn’t your average coconut cake – it’s a three-layer wonder that’s gotten over 300 perfect ratings from home cooks all over the country!
Did you know coconut cake became a sign of Southern warmth in the 1800s? It’s true! This favorite dessert has shown up at countless Sunday dinners and parties, and today, I’m sharing my improved version that mixes old methods with new exactness. Get set to make the most heavenly fluffy coconut cake that’ll have everyone asking for more.
Why This Coconut Cake Recipe Works
The key to this recipe’s success is its three-pronged coconut strategy. We use coconut milk, coconut cream, and shredded coconut to build authentic tropical flavor layers. But the magic goes beyond just the ingredients – it’s about the method too.
My extensive testing has shown that ingredients at room temperature and correct mixing techniques make a big difference. The cake layers stay super moist thanks to a special mix of cake flour and coconut milk, while the frosting strikes the right balance between sweet and coconut-y.
This recipe stands out because it’s so flexible. You can make it for a relaxed family get-together or a fancy wedding, and it’ll turn out great every time. And here’s a bonus for busy bakers: you can prepare some parts ahead of time!
Essential Ingredients & Equipment
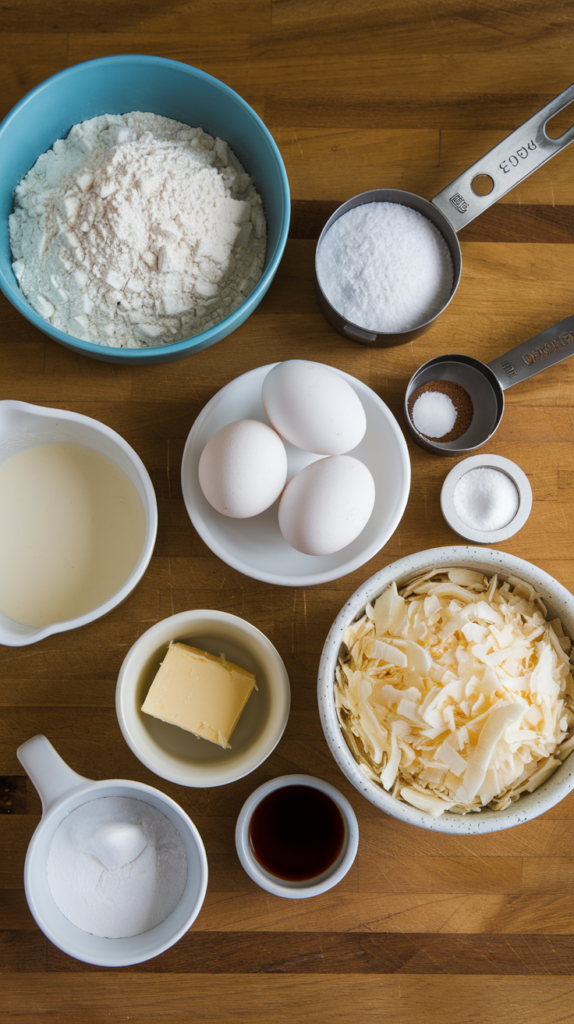
Let’s gather everything you’ll need to create this coconut masterpiece:
For the Cake:
- 3 cups cake flour
- 2 teaspoons baking powder
- 1 teaspoon salt
- 1 cup unsalted butter, room temperature
- 2 cups granulated sugar
- 5 large eggs, room temperature
- 1 teaspoon vanilla extract
- 1 teaspoon coconut extract
- 1 cup coconut milk
- 1 cup buttermilk, room temperature
For the Frosting:
- 16 oz cream cheese, softened
- 1 cup unsalted butter, softened
- 6 cups powdered sugar
- 1/2 cup coconut cream
- 1 teaspoon coconut extract
- 4 cups sweetened shredded coconut (2 cups for filling, 2 cups for decoration)
Equipment Needed:
- Three 9-inch round cake pans
- Stand mixer or hand mixer
- Cake turntable (recommended but optional)
- Offset spatula
- Parchment paper
- Cooling racks
Step-by-Step Cake Preparation
- Prep Work (15 minutes):
- Preheat your oven to 350°F (175°C)
- Grease and line your cake pans with parchment paper
- Bring all refrigerated ingredients to room temperature
- Sift together cake flour, baking powder, and salt
- Making the Batter (25 minutes):
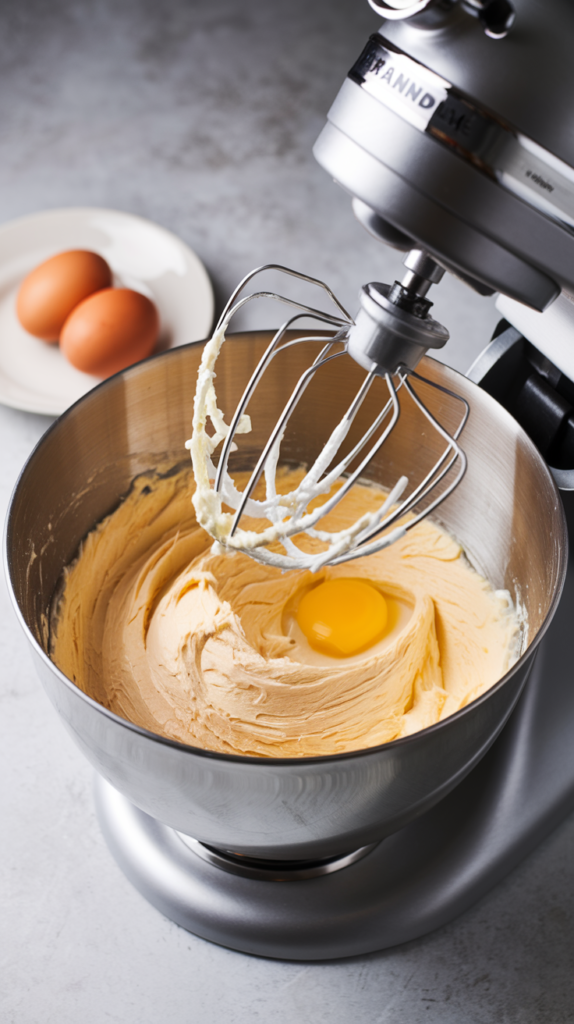
- Cream butter and sugar until light and fluffy (about 5 minutes)
- Add eggs one at a time, beating well after each addition
- Mix in vanilla and coconut extracts
- Alternate adding dry ingredients and liquid ingredients (flour mixture, coconut milk, buttermilk)
- Mix just until combined to avoid tough cake layers
- Baking (25-30 minutes):
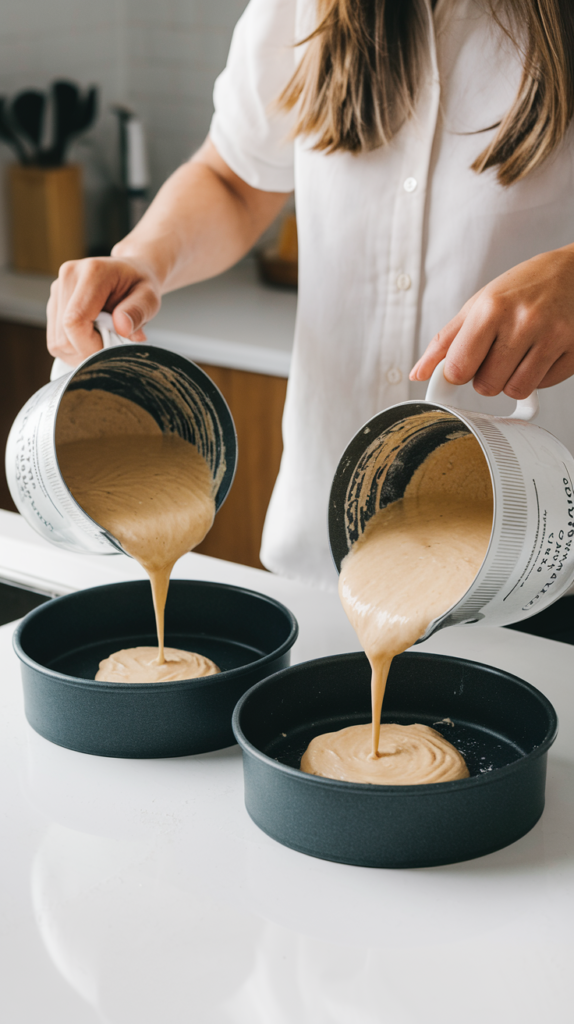

- Divide batter evenly between prepared pans
- Bake until a toothpick comes out clean
- Cool in pans for 10 minutes
- Transfer to cooling racks
Pro Tip: Don’t open the oven door during the first 20 minutes of baking. This ensures even rising and prevents sinking.
Making the Coconut Frosting
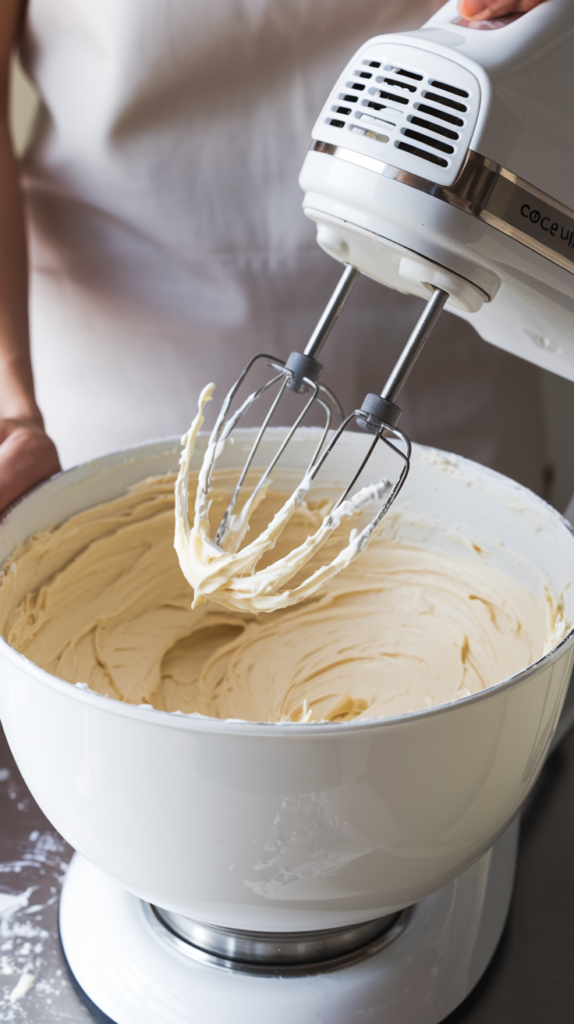

The frosting is where many coconut cakes fall short, but not ours! This cream cheese-based frosting is stable enough to hold your layers while remaining creamy and delicious.
- In a stand mixer with the paddle attachment, beat cream cheese and butter until smooth and creamy (about 3 minutes)
- Gradually add powdered sugar, mixing on low speed
- Pour in coconut cream and extract
- Beat on medium-high until light and fluffy (about 5 minutes)
Troubleshooting Tip: If your frosting becomes too soft, refrigerate for 15-20 minutes before continuing.
Assembly and Decoration Tips
Now comes the fun part – putting it all together!
- Level your cake layers if needed (save the scraps for snacking!)
- Place first layer on your cake board or plate
- Add a generous layer of frosting
- Sprinkle with shredded coconut
- Repeat with second and third layers
- Apply a crumb coat and chill for 15 minutes
- Final coat of frosting
- Press shredded coconut all over the cake
For an extra special touch, toast some coconut for the top layer. Spread shredded coconut on a baking sheet and toast at 350°F for 5-8 minutes, stirring occasionally, until golden brown.
Storage and Serving
This cake stays fresh for up to 5 days when properly stored:
- Room temperature: 2 days in an airtight container
- Refrigerated: 5 days
- Frozen: Up to 3 months (wrap well in plastic wrap and foil)
For best flavor, serve at room temperature. If refrigerated, let sit out for 30 minutes before serving.
Expert Tips and Common Mistakes
After making this cake hundreds of times, here are my top tips for success:
- Temperature Matters
- Room temperature ingredients create a smoother batter
- Cold ingredients can cause curdling and uneven mixing
- Don’t Overmix
- Stop mixing as soon as ingredients are combined
- Overmixing leads to tough, dense cake
- Measure Precisely
- Use the spoon-and-level method for flour
- Don’t eyeball measurements
- Check Your Oven Temperature
- Use an oven thermometer for accuracy
- Different ovens can vary by up to 25 degrees
Common Problems and Solutions:
- Sinking middle? Don’t open the oven door while baking
- Tough cake? Check your mixing time and flour measurement
- Crumbly texture? Ensure eggs and butter are room temperature
- Frosting too soft? Chill it briefly before continuing
- Curdled batter? Let ingredients come to room temperature
High-Altitude Adjustments (Above 3,500 feet):
- Reduce sugar by 2 tablespoons
- Increase flour by 2 tablespoons
- Raise oven temperature by 25°F
This coconut cake recipe has been a part of countless celebrations, from casual family gatherings to elegant wedding receptions. The combination of moist, tender cake layers, creamy frosting, and triple coconut flavor creates an unforgettable dessert that’s sure to become a favorite in your recipe collection.
I’d love to see your creations! Tag us on social media or leave a comment below with your photos and experience making this cake. Remember, even if it’s not perfect the first time, practice makes perfect, and even imperfect coconut cake is delicious coconut cake!
Happy baking! 🥥🎂
